Procreate print tarot cards: how to export
To export Procreate print tarot cards, set the canvas to your card's trim size plus bleed at 300 DPI before you paint, then export each card as a flattened TIFF or PNG. Procreate handles DPI oddly if you start from pixels, so start from the physical size and lock 300 DPI at creation.
The trap with Procreate is that it feels finished long before the file is. The art looks gorgeous on the iPad. Then the printer rejects it for the wrong resolution, or a card comes back soft, because a setting you never saw was baked in the day you made the canvas.
How do you set up a Procreate canvas for print?
Set the canvas at your real card size, in inches or millimeters, with DPI set to 300, on the day you start the card. This is the single decision that fixes or breaks everything downstream.
Procreate ties resolution to how you create the canvas. If you make a new canvas by typing pixel dimensions, Procreate often stamps it at 132 DPI (the iPad screen density) instead of 300, even when the pixel count is fine. The art still looks sharp on screen and imports into a print template looking wrong.
So do it the other way. In the custom canvas panel, choose inches or millimeters, enter the dimensions, and set DPI to 300 yourself. A standard tarot card is 2.75 x 4.75 inches, so with a 0.125 inch bleed on each edge you build a canvas of 3.0 x 5.0 inches at 300 DPI. That is 900 x 1500 pixels including bleed. Full unit-by-unit numbers live in the tarot card size and dimensions guide.
You cannot cleanly raise DPI after the fact. Changing it later resamples the art and softens it. Set 300 up front and every card exports at the right resolution automatically.
One catch: bigger canvases give you fewer layers. Procreate caps layer count based on canvas size and iPad model, so a full-bleed 300 DPI card leaves you fewer layers than a small sketch canvas. Plan your layer stack around that, or merge as you go.
What DPI should a Procreate card be?
300 DPI, set at canvas creation, not after. That is the resolution nearly every card printer expects, and it is the floor for crisp print, not a bonus.
Check the DPI of the file you actually export, not the number you meant to use. The fastest way to catch a bad canvas is to open the Actions menu, tap Canvas, then Canvas information, and read the DPI and pixel dimensions back. If it says 132 or 72, or the pixels are short of 900 x 1500 with bleed, the canvas is wrong and no export setting will save it.
If you already painted a card on a 132 DPI canvas, you are not fully sunk. If the pixel dimensions are large enough, you can sometimes reflag it to 300 DPI in another app without resampling. But the clean fix is to rebuild the canvas correctly and re-import your flattened art onto it.
Which export format should you use from Procreate?
Flattened TIFF or PNG. Both are lossless, so they hold your linework and gradients without the muddy compression artifacts that JPEG bakes in. Many printers also accept a flattened PDF.
Procreate's native .procreate file keeps your layers, but printers do not want layers. They want one flat image per card. TIFF is the printing industry standard and stores full quality; PNG is lighter, equally lossless, and accepted almost everywhere. Avoid JPEG for final art, since its compression shows up as blocky edges and halos around fine lines.
Export from the Share panel: pick your format, and Procreate flattens the layers into the exported file for you. Your working file keeps its layers untouched.
| Setting | Value |
|---|---|
| Canvas size (standard tarot) | 2.75 x 4.75 in trim, 3.0 x 5.0 in with bleed |
| DPI | 300, set at canvas creation |
| Pixel dimensions with bleed | 900 x 1500 px |
| Bleed | 0.125 in per edge (~37 px at 300 DPI) |
| Export format | TIFF or PNG, flattened (PDF if printer prefers) |
| Color space | RGB (Display P3 or sRGB); printer converts to CMYK |
| Avoid | JPEG for final art, 132/72 DPI canvases, resizing DPI after painting |
These are planning defaults for a standard deck. Your printer publishes its own template, so confirm the exact trim, bleed, and format against it before you export all 78.
Does Procreate export CMYK?
Not really. Procreate paints in RGB, using the Display P3 or sRGB color space, and it has no true CMYK painting mode. It can attach a CMYK profile on a PDF export, but that is a rough conversion, not the same as working in CMYK.
That is fine, because most card printers want an RGB upload and run their own CMYK conversion on their equipment. Their conversion is better tuned to their inks and stock than a generic one from an app. Do not hand-convert to CMYK unless your printer's guidelines specifically ask for it.
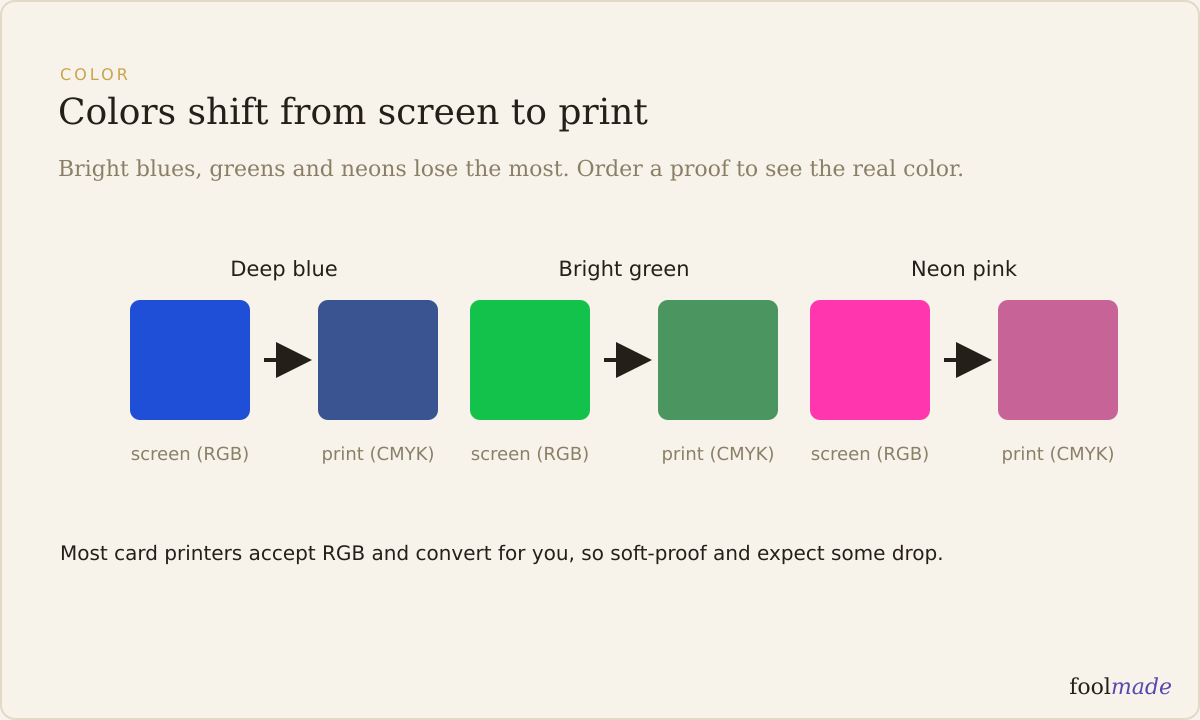
What matters is knowing colors will shift. Your iPad screen glows in RGB; ink on cardstock cannot hit the brightest screen colors, so a vivid neon can come back dulled. Design with a little headroom on your most saturated colors. The full breakdown of why colors change is in RGB vs CMYK for tarot cards.
How do you add bleed in Procreate?
Build the bleed into the canvas size from the start, then extend your background art past the trim line into that margin. Procreate has no automatic bleed feature, so it lives in your canvas dimensions.
For a standard card, that means a 3.0 x 5.0 inch canvas instead of 2.75 x 4.75. The extra 0.125 inch on each edge is the bleed zone. Run your background, borders, and any full-frame art all the way to the canvas edge so the cutter never exposes bare paper.
Keep the important content pulled inward. Titles, numbers, card faces, and framing should sit inside a safe margin, away from the trim line, because the blade lands a hair off on every card. If bleed, trim, and safe zone are new to you, the print-ready pillar checklist walks through all of it before you spend money.
Keep all 78 cards identical
Make one master canvas at the right size, DPI, and bleed, then duplicate it for every card. The most common Procreate mistake across a deck is not one bad export, it is 78 cards built on slightly different canvases over months, so one ends up a different size or DPI than the rest. Duplicating a known-good canvas keeps trim, bleed, resolution, and orientation locked across the whole deck.
Bottom line
Do the boring setup once, at the canvas, and Procreate exports print-ready cards on autopilot. Start from physical size, lock 300 DPI, build in bleed, work in RGB, and export flattened TIFF or PNG.
Foolmade reads the card files you export and checks them against real print dimensions, resolution, bleed, and color expectations, so a 132 DPI slip or a missing-bleed card gets caught before it costs you a print run. It never prints your deck and it never touches your art. Run the print check on your Procreate exports before you order a single proof.
Frequently asked questions
What DPI should I use in Procreate for printing?
300 DPI, set when you create the canvas. Choose inches or millimeters for the canvas size and set DPI to 300 yourself, because starting from pixel dimensions can stamp the file at 132 DPI even when it looks sharp on screen.
Does Procreate export CMYK?
Not truly. Procreate paints in RGB and can only attach a rough CMYK profile to a PDF. Most card printers want an RGB upload and convert to CMYK on their own equipment, so leave the conversion to them unless they ask otherwise.
What format should I export from Procreate for print?
A flattened TIFF or PNG. Both are lossless and hold fine detail. PDF works if your printer prefers it. Avoid JPEG for final art, since its compression shows as blocky edges around linework.
Why does my Procreate art look blurry when printed?
Almost always a low-DPI canvas. If you built the canvas from pixel dimensions, it may sit at 132 or 72 DPI, which prints soft even though it looks fine on the iPad. Check Canvas information and rebuild at 300 DPI if needed.
How do I add bleed to a Procreate tarot card?
Bake it into the canvas size. Make the canvas 0.125 inch larger on every edge (3.0 x 5.0 inches for a standard card) and run your background art all the way to the edge, keeping titles and faces inside a safe inner margin.